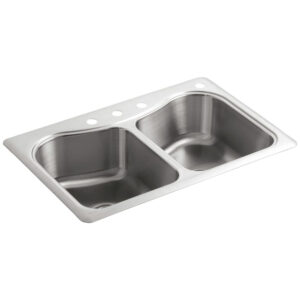
How to Seal Your Kitchen Sink to the Countertop: A Complete Guide
Table of Contents
Introduction
Whether you’re installing a new drop-in sink or resealing an existing one, this guide will walk you through the process. We’ll cover the best materials to use, proper techniques, and how to avoid common mistakes.
This article is worth reading because it not only helps you understand the importance of sealing a sink correctly but also provides practical tips and recommendations that can save you time and money in the long run.
Why Sealing Your Kitchen Sink Is Essential
Sealing your kitchen sink to the countertop is not just about aesthetics—it’s about functionality and protection. Proper sealing prevents water from seeping under the sink, which can lead to mold growth, wood rot, and damage to your countertops.
Benefits of Proper Sealing:
- Prevents Water Damage: A well-sealed sink keeps water from leaking into the cabinet below, protecting your kitchen from costly repairs.
- Keeps Your Kitchen Hygienic: Sealing gaps around the sink prevents food particles and moisture from getting trapped, reducing the risk of bacteria and mold growth.
- Enhances Longevity: Proper sealing ensures that your sink remains securely attached to the countertop, reducing the need for frequent maintenance.
By understanding the importance of sealing your sink, you can better appreciate the value of doing the job right the first time.
What Are the Best Caulk and Sealant Types for Kitchen Sinks?
Choosing the right caulk or sealant is crucial for a successful kitchen sink installation. Here are the most common types of sealants and their benefits:
- Silicone Sealant: Known for its flexibility and water resistance, silicone is the most popular choice for kitchen sinks. It adheres well to both the sink and countertop materials, ensuring a tight seal.
- Plumber’s Putty: This is often used for sealing the drain and fixtures, but it’s less ideal for sealing the perimeter of the sink as it can dry out over time.
- Acrylic Latex Caulk: This type of caulk is paintable and easy to work with, but it’s not as durable or water-resistant as silicone, making it less suitable for kitchen sinks.
When selecting a sealant, consider factors such as durability, water resistance, and how well it adheres to the materials in your kitchen.
How to Prepare Your Sink and Countertop for Sealing
Proper preparation is essential for ensuring that the caulk or sealant adheres well to the surfaces. Here’s how to prepare your sink and countertop before sealing:
- Clean the Area: Remove any old caulk or sealant using a caulk remover tool. Clean the area thoroughly with a mild detergent to remove any grease, dirt, or debris.
- Dry the Surfaces: Ensure that both the sink and countertop are completely dry before applying the new sealant. Moisture can prevent the caulk from adhering properly.
- Tape the Edges: To create a clean, professional-looking seal, use painter’s tape to mask off the areas around the sink where you’ll be applying caulk.
By taking the time to prepare the surfaces properly, you’ll ensure a strong, lasting seal.
How to Seal a Drop-In Kitchen Sink to the Countertop
Sealing a drop-in kitchen sink is a straightforward process, but it requires careful attention to detail to prevent leaks. Here’s a step-by-step guide:
- Apply the Caulk: Start by applying a bead of silicone caulk around the edge of the sink opening in the countertop.
- Position the Sink: Carefully lower the sink into place, pressing it down to ensure the caulk spreads evenly and creates a seal.
- Secure the Sink: Attach the sink clamps or brackets underneath the countertop to hold the sink securely in place.
- Smooth the Caulk: Use a caulk smoothing tool or your finger to smooth the caulk along the edges of the sink, ensuring a clean, watertight seal.
- Remove Excess Caulk: Once the sink is in place, wipe away any excess caulk with a damp cloth.
Allow the caulk to cure according to the manufacturer’s instructions before using the sink.
How to Seal an Undermount Sink to a Granite Countertop
Undermount sinks are popular in modern kitchens, especially with granite countertops. Here’s how to seal an undermount sink for a flawless finish:
- Apply the Adhesive: Start by applying a bead of silicone adhesive around the sink’s rim.
- Position the Sink: Carefully lift and position the sink underneath the granite countertop, ensuring it aligns correctly.
- Clamp the Sink: Use sink clips or clamps to secure the sink to the countertop. This step is crucial for maintaining a strong bond as the adhesive cures.
- Seal the Edges: Apply a thin bead of silicone caulk around the perimeter where the sink meets the countertop, smoothing it out for a clean finish.
Granite countertops require careful sealing to prevent water from seeping into the stone, so it’s essential to ensure a tight, waterproof seal.
Common Mistakes to Avoid When Sealing Your Kitchen Sink
Sealing a kitchen sink might seem simple, but there are common mistakes that can lead to leaks or a poor finish. Here’s what to avoid:
- Using the Wrong Sealant: Not all sealants are suitable for kitchen sinks. Avoid using materials that aren’t waterproof or flexible, as they won’t hold up over time.
- Skipping Surface Preparation: Failing to clean and dry the surfaces properly can result in poor adhesion, leading to gaps and leaks.
- Applying Too Much Caulk: While it’s important to ensure coverage, using too much caulk can create a messy finish and make it difficult to smooth the edges.
By steering clear of these mistakes, you can achieve a professional-looking seal that lasts.
How to Choose the Best Caulk for Kitchen Sinks
When choosing the best caulk for your kitchen sink, consider the following factors:
- Durability: Look for caulks that are designed to withstand moisture, temperature changes, and daily wear and tear.
- Flexibility: Kitchen sinks are subject to movement, so a flexible caulk like silicone is ideal for maintaining a strong seal.
- Mold Resistance: Choose a caulk that’s mold and mildew resistant to keep your kitchen looking clean and fresh.
Brands like GE Silicone II and Dap Kwik Seal offer high-quality caulks specifically designed for kitchen and bathroom applications.
How Often Should You Reseal Your Kitchen Sink?
Knowing when to reseal your kitchen sink can prevent leaks and extend the life of your countertops. Generally, it’s recommended to reseal your sink every 1-3 years, depending on usage and the type of sealant used.
Signs You Need to Reseal:
- Cracking or Peeling Caulk: If the caulk around your sink is cracking, peeling, or pulling away from the surfaces, it’s time to reseal.
- Water Leaks: If you notice water pooling around the sink or dripping into the cabinet below, the seal may have failed and needs to be redone.
Regularly inspecting the seal around your sink can help you catch issues early and prevent costly water damage.
Waterproof Seal for Your Sink: Ensuring Long-Term Protection
Creating a waterproof seal around your kitchen sink is essential for protecting both your sink and countertops. Here’s how to ensure long-term protection:
- Use Quality Sealant: Invest in a high-quality silicone sealant that’s designed for kitchen use and offers superior water resistance.
- Apply Evenly: Make sure the sealant is applied evenly around the entire sink to prevent any gaps where water could seep through.
- Allow Proper Curing Time: Follow the manufacturer’s instructions for curing time, ensuring that the sealant fully sets before using the sink.
A properly sealed sink will protect your countertops and cabinetry from moisture and water damage over the years.
The Tools You Need for a Professional Sink Seal
Achieving a professional-looking sink seal requires the right tools. Here’s what you’ll need:
- Caulk Gun: A high-quality caulk gun allows for smooth and even application of sealant.
- Caulk Smoothing Tool: This tool helps you create a clean, professional finish by smoothing out the caulk after application.
- Painter’s Tape: Use tape to mask off the edges and ensure a neat, even bead of caulk.
- Utility Knife: A sharp utility knife is essential for cutting away old caulk and trimming excess.
With the right tools, you can achieve a clean, professional seal that enhances the appearance and functionality of your kitchen sink.
In conclusion, sealing your kitchen sink to the countertop is a crucial step in any kitchen installation or remodel. By choosing the right materials, preparing the surfaces properly, and following the correct techniques, you can create a durable, waterproof seal that protects your kitchen from leaks and damage. Whether you’re working with a drop-in or undermount sink, this guide provides everything you need to know for a successful installation.
Comments
How to Seal Your Kitchen Sink to the Countertop: A Complete Guide
Sealing your kitchen sink to the countertop is a crucial step in ensuring a long-lasting, leak-free installation.
A Complete Guide: How to Install a Farmhouse Sink
Installing a farmhouse sink is a fantastic way to transform your kitchen with both style and functionality. These iconic sinks, also known as apron-front sinks, have become increasingly popular due to their deep basins and elegant design.
Which Stainless Steel Sink is Better: 18 Gauge or 20 Gauge
When deciding between an 18 gauge and a 20 gauge stainless steel sink, consumers face important considerations regarding thickness, durability, noise levels, and cost.
Why Are Bathroom Sinks Made of Stainless Steel? Unveiling the Secrets of Sink Materials
Have you ever wondered why stainless steel is such a popular choice for bathroom sinks? In this comprehensive guide, we’ll explore the reasons behind this trend and compare stainless steel to other common sink materials.
How to Install a Double Bowl Kitchen Sink: A Complete Guide
Installing a double bowl kitchen sink can be a game-changer for your kitchen’s functionality, providing separate spaces for washing and rinsing.
Tags
Related Blog
Learn the newest trends and common knowledge from our blog in stainless steel sinks business.
What Are The Advantages of Stainless Steel Kitchen Sinks
Stainless steel sinks are a popular choice for kitchens, known for their durability, ease of maintenance, and sleek design.
The Best Ways to How to Clean a Stainless Steel Sink
Keeping your stainless steel sink clean and shiny not only enhances the look of your kitchen but also prolongs the lifespan of your sink.
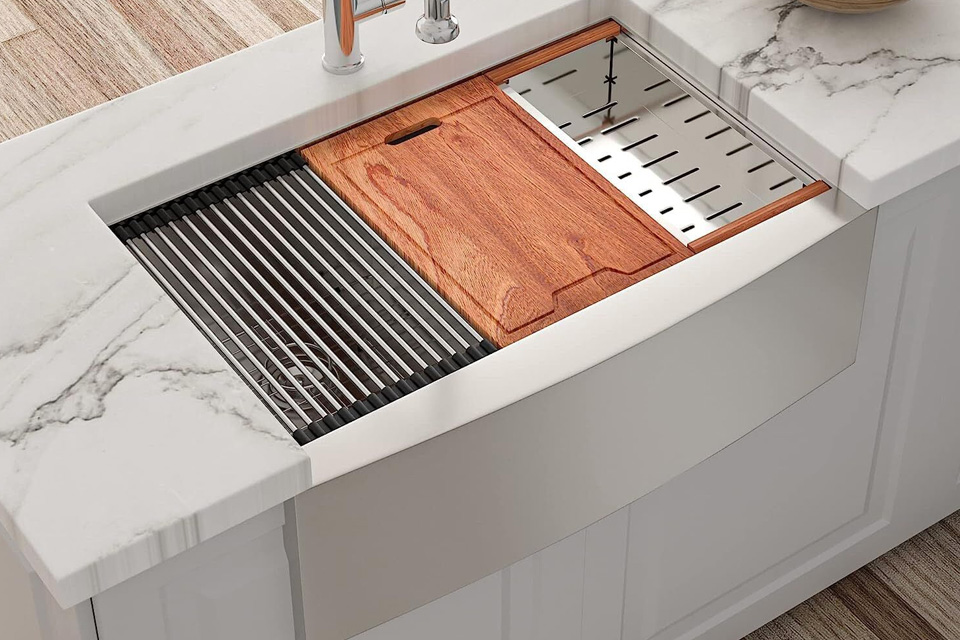
A Complete Guide: How to Install a Farmhouse Sink
Installing a farmhouse sink is a fantastic way to transform your kitchen with both style and functionality. These iconic sinks, also known as apron-front sinks, have become increasingly popular due to their deep basins and elegant design.

